October 05, 2026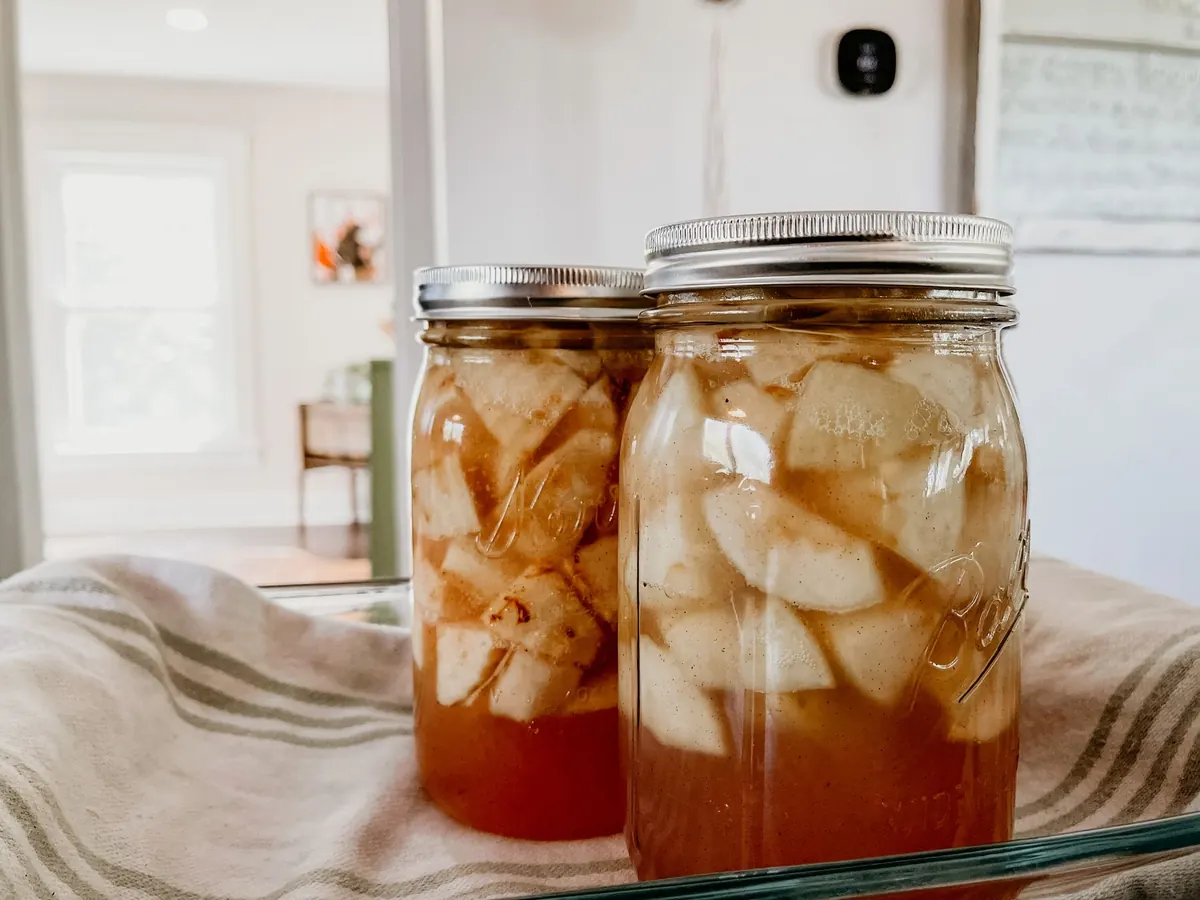
Every autumn the same bowl appears on the counter: cores, peels, and a few bruised halves left over from a pie or a pot of sauce. Compost is a fine destination for them. Vinegar is a better one. Those scraps carry enough sugar and wild yeast to start a two-stage fermentation that ends in a tart, apple-scented vinegar you can use for salad dressings, drinking shrubs, braises, and general kitchen cleaning. The active work amounts to about ten minutes. The rest is a jar, a cloth cover, and three to six weeks of patience.
What You're Making, and What You Aren't
Apple scrap vinegar is a two-step ferment. First, yeast converts sugar into a small amount of alcohol. Then acetic acid bacteria convert that alcohol into acetic acid. Because you're starting with scraps rather than pressed, measured cider, the sugar and acid levels are lower and far less predictable than a commercial batch.
The finished vinegar usually lands somewhere around 3 to 5 percent acidity. That's tart enough to be useful but weaker and more variable than the 5 percent cider or distilled white vinegar on the grocery shelf. That variability matters. Homemade vinegar is excellent for dressings, marinades, shrubs, and wiping down counters or glass, but it isn't dependable for water-bath canning or pickling, where tested recipes assume a known acidity. Keep a bottle of commercial vinegar for those jobs.
What You Need
- A clean glass jar, anywhere from 1 quart to 1 gallon, depending on how many scraps you have
- Apple cores and peels from washed fruit (organic or homegrown is ideal, since peels carry the wild yeast you want)
- Non-chlorinated water — filtered, bottled, or tap water left to sit overnight
- Sugar, white or raw, about 1 tablespoon per cup of water
- A breathable cover: a clean cloth, a coffee filter, or a paper towel, held with a rubber band
- A weight to keep the scraps submerged — a small plate, a glass fermentation weight, or a zip-top bag filled with water
- A wooden spoon for stirring, a fine-mesh strainer, and glass bottles with caps or corks
Skip any scraps that are moldy, mushy, or rotting. A little bruising is fine; decay is not, because it introduces organisms you don't want competing in the jar.
The First Fermentation: Scraps to Weak Cider
Fill your jar about two-thirds full with scraps. Pour in enough water to cover them by an inch or two, then stir in the sugar — roughly 1 tablespoon per cup of water used. Stir until it dissolves. Press the scraps down under the liquid and set your weight on top. Anything poking above the surface is a place for mold to take hold, so this step earns its keep.
Cover the jar with cloth and keep it somewhere out of direct sun, ideally between 65°F and 80°F. Stir once a day with the wooden spoon, pushing the scraps back under. Within two or three days you should see bubbles rising and smell something unmistakably cidery. That's the yeast working.
Let it go for one to two weeks, until the bubbling slows to almost nothing and the scraps look pale and spent. Strain the liquid into a clean jar and compost the solids. What you have now is a rough, low-alcohol apple cider — not delicious on its own, but exactly the right starting point for the next stage.
The Second Fermentation: Cider to Vinegar
Return the strained liquid to its jar, cover it with cloth again, and put it back in its cool, dark spot. Now acetic acid bacteria go to work on the alcohol. This stage takes anywhere from three to six weeks, and warmth speeds it up considerably. A cooler kitchen in winter might stretch it out; a warm pantry in September might finish it in three.
Taste a small spoonful every week or so. You're waiting for the sharp, clean bite of vinegar and the disappearance of any sweetness or boozy warmth. When it tastes like vinegar rather than flat cider, it's ready. If you already have a bottle of raw, unfiltered vinegar with a mother in it, adding a splash to the jar can help things along.
Reading the Jar: What's Normal, What Isn't
Fermentation looks stranger than most people expect. Here's how to tell the difference between a healthy batch and one that needs to go down the drain.
- A thin white film or powdery patches: likely kahm yeast. Harmless, though it can taste slightly flat or bitter. Skim it off and carry on.
- A rubbery, gelatinous disc on top: that's the mother of vinegar, a cellulose mat of acetic acid bacteria. Keep it to start your next batch faster.
- Fuzzy growth in green, black, blue, or pink: mold. Pour the whole batch out, wash the jar well, and start over.
- Tiny wriggling threads: vinegar eels, harmless nematodes that show up in raw vinegar. Strain through a coffee filter if they bother you.
- Small flies around the jar: fruit flies. Keep the cloth cover snug and check it hasn't come loose.
If you see fuzz, or if the smell turns rotten rather than sharply sour, throw the batch out. Vinegar is cheap to remake and not worth guessing about.
Bottling, Storing, and Using It
Strain the finished vinegar into clean glass bottles, leaving an inch of headspace, and cap them. Store in a cool, dark cupboard. It won't spoil, but it will slowly grow another mother, and over many months it can lose intensity as it evaporates. A batch is usually best within a year.
In the kitchen, use it anywhere you'd reach for cider vinegar: whisked into vinaigrette, splashed into braised pork or cabbage, stirred into a shrub with sugar and muddled fruit, or used to deglaze a pan. For cleaning, it works on glass, counters, and coffee stains, though it's a mild cleaner and shouldn't be relied on for disinfecting — the acidity varies too much from batch to batch for that.
A First Batch Worth Making
Start with a single quart jar and whatever scraps you have after one afternoon of cooking. Label it with the date, taste it weekly, and keep notes on how long it took in your kitchen — that record is worth more than any set of instructions, because fermentation runs on temperature and your kitchen has its own climate. Once you've made one batch you like, you'll stop thinking of cores and peels as waste and start setting them aside on purpose.
Photo: Hannah Grapp / Pexels